Vertex Studio
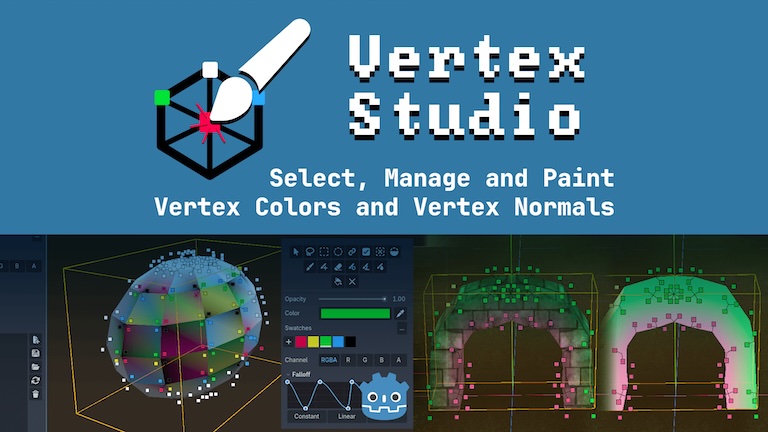
Vertex Studio is a Godot plugin for editing, managing and painting vertex colors and vertex normals of 3D meshes. A complete solution for vertex...

Polyglot Software Engineer and PostgreSQL Database Architect with 30 years of experience, a specialist in data modeling, software, and system architecture. Current stack: Elixir and Phoenix since 2015. From Curitiba 🇧🇷, living in Copenhagen 🇩🇰.
Hyper-learner, indie game developer and aspiring 3D digital artist.
Vertex Studio is a Godot plugin for editing, managing and painting vertex colors and vertex normals of 3D meshes. A complete solution for vertex...
A list of my direct and indirect Godot contributions, including open-source projects made with the engine, educational content as well my direct...
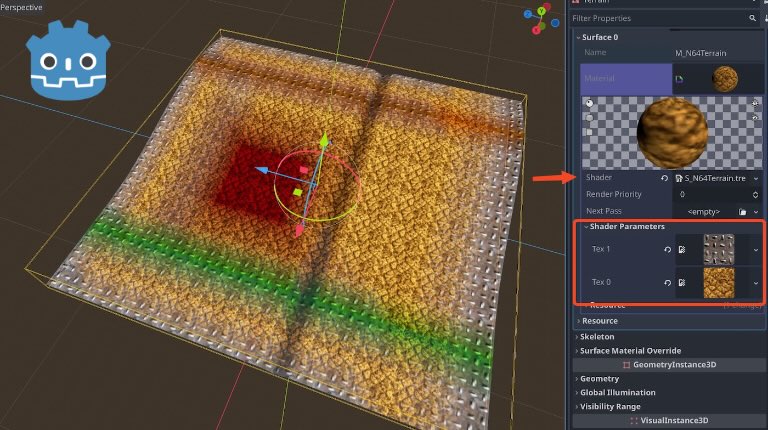
In this article, I explain how I created a Banjo-Kazooie (Nintendo 64) terrain and level material in Godot, with a Visual Shader, importing the...
This site was migrated from WordPress to 11ty (Eleventy). Here's how I did it, including how to import and convert WordPress content that relies...
I have previously shown how to make Banjo-Kazooie (from the Nintendo 64) stylized terrain and environments with vertex colors and vertex color alpha....

In the first part, you can see how Banjo-Kazooie from the Nintendo 64 presented its rich environments, making heavy usage of vertex colors for...
An experiment where I create Nintendo 64 stylized graphics (3D models, textures and environments).
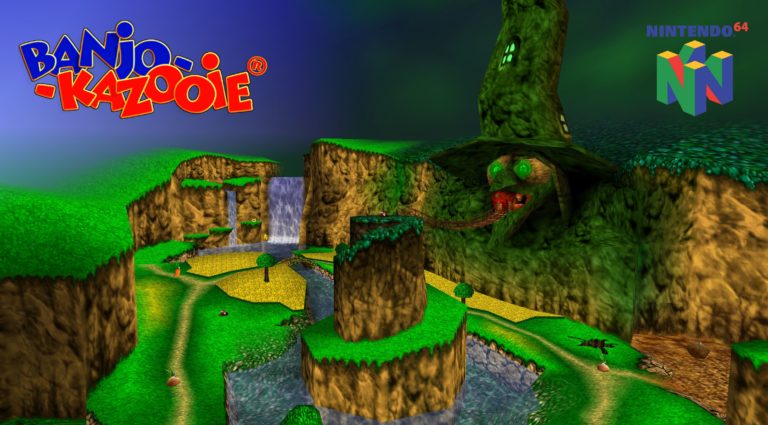
Banjo-Kazooie from the Nintendo 64 had environment and terrain details with blended textures (it is also called decal blending in some sources): This...
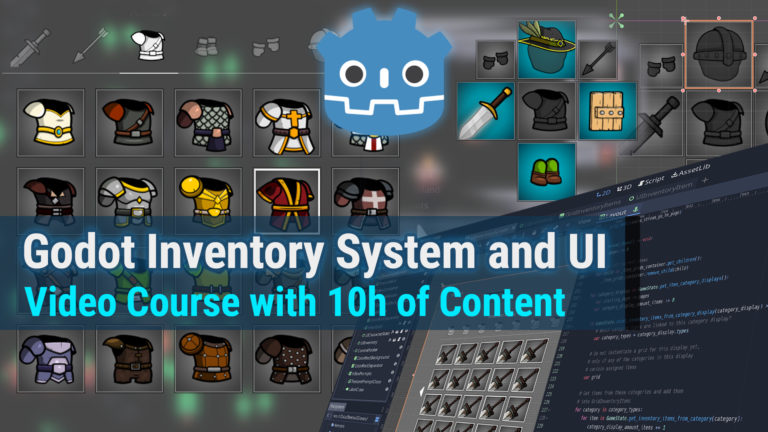
Learn to create extensive user interfaces and dynamic data systems with Godot by building an Inventory Screen. Get it on Itch or Udemy. In this game...
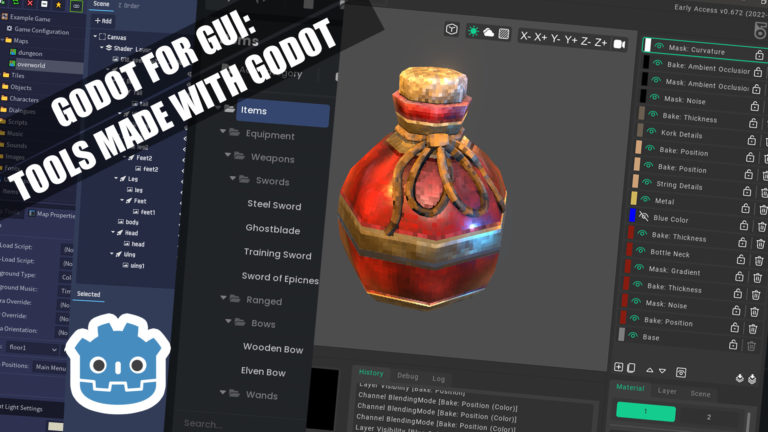
The Godot game engine is great for making general use case graphical user interfaces (GUI) for standalone tools and applications, that are not...
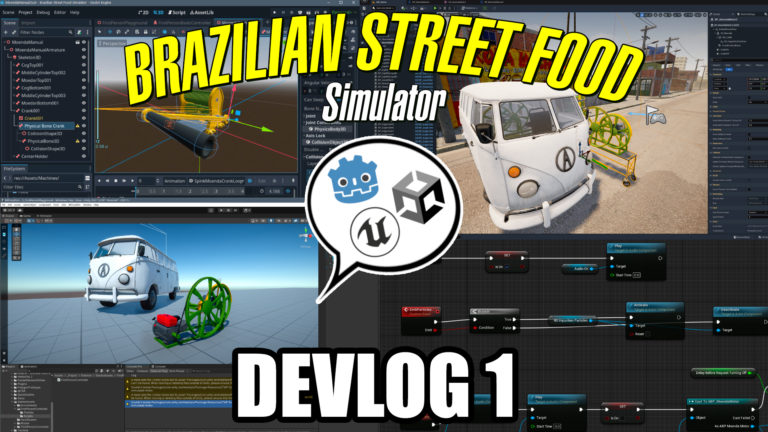
The first devlog of my game Brazilian Street Food Simulator is out! I talk about how for the past 6 months I lost my mind after the game went viral...

In this post, I show how I imported both character and animation asset packs from the Unity Asset Store into Unreal Engine, and shared animations...
This is the table of contents from the Godot Course: Dynamic Inventory System and User Interfaces (Education Projects). 01-Setup and Godot Concepts...
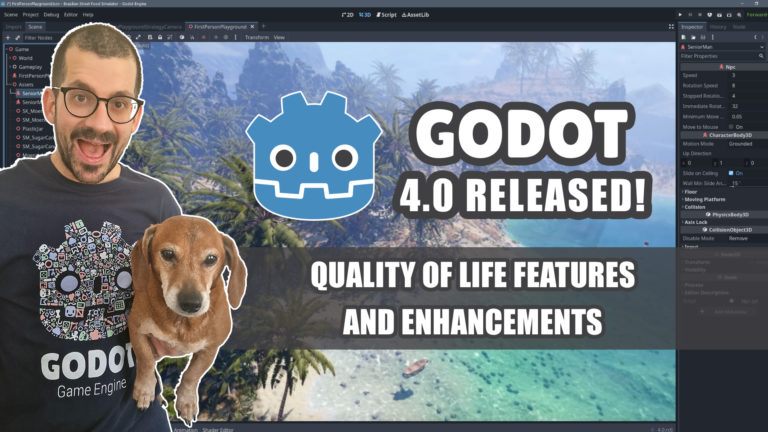
No more waiting for Godot 4.0! You can finally download Godot 4.0 stable. After more than 3 years of an impressive community-driven effort with...
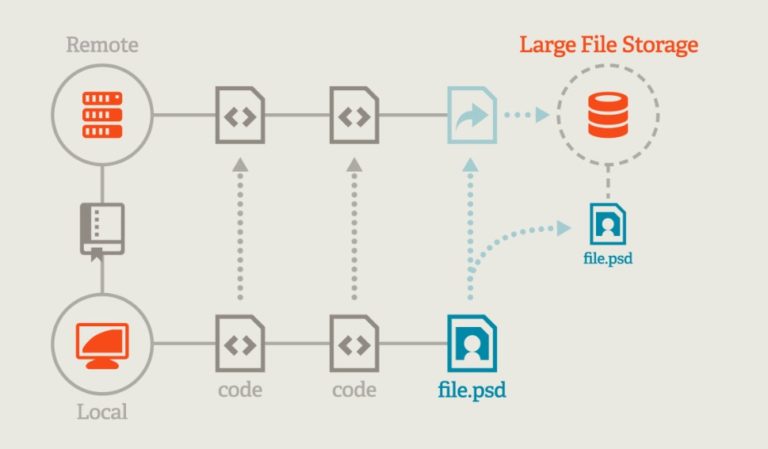
In order to have a Git repository for a game development project, the repository must be properly set with Git LFS, otherwise Git is going to make...
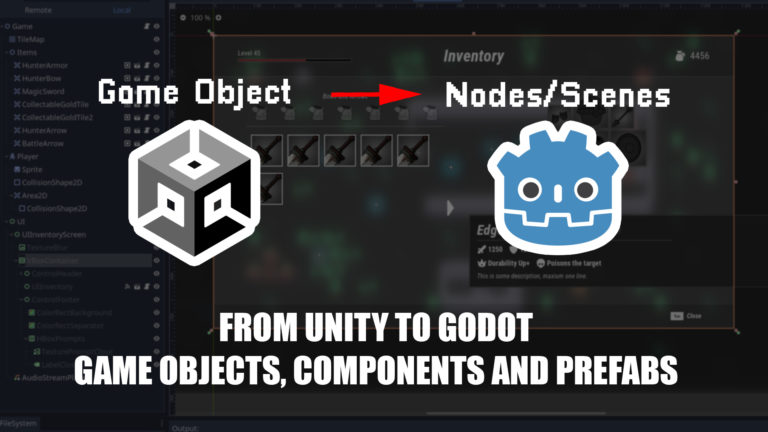
Coming from Unity, you just opened Godot for the first time and you can't find where are the Game Objects and Components? Not only that, where are the...
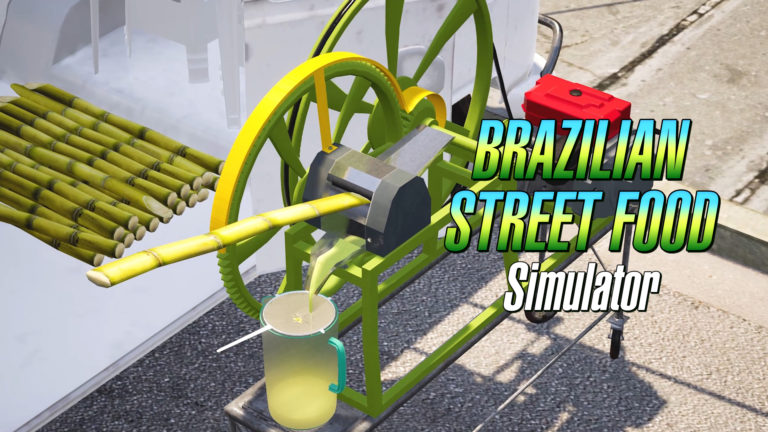
Experience the dynamics of preparing Brazilian Street Food, such as Sugar Cane Juice, Pastel, and Tapioca. Play around with typical equipment,...
As stated in the experiment page, the intention here is to add and remove dirt from meshes dynamically during runtime. My implementation works in...